Pages

Monday, January 16, 2012

Recipe: Chicken Pot Pie (take 2)


Okay, admittedly, this recipe is a little bit harder, but it's still completely doable!!  I promise.  I'll walk you through it.

Now, there are three parts to this recipe.  The dough, which must be made before hand, the filling, and then assembling the two parts together.  It takes a while, but it's great, especially if you want easy to save leftovers.


Part the first: Dough


You'll need:
2 cups whole wheat flour
1 tsp baking powder
½ tsp salt
4 tbsp extra-virgin olive oil
¾ cup buttermilk or buttermilk substitute
1 egg
1. Measure the dry ingredients out onto an open space on the counter and mix them with your hands.
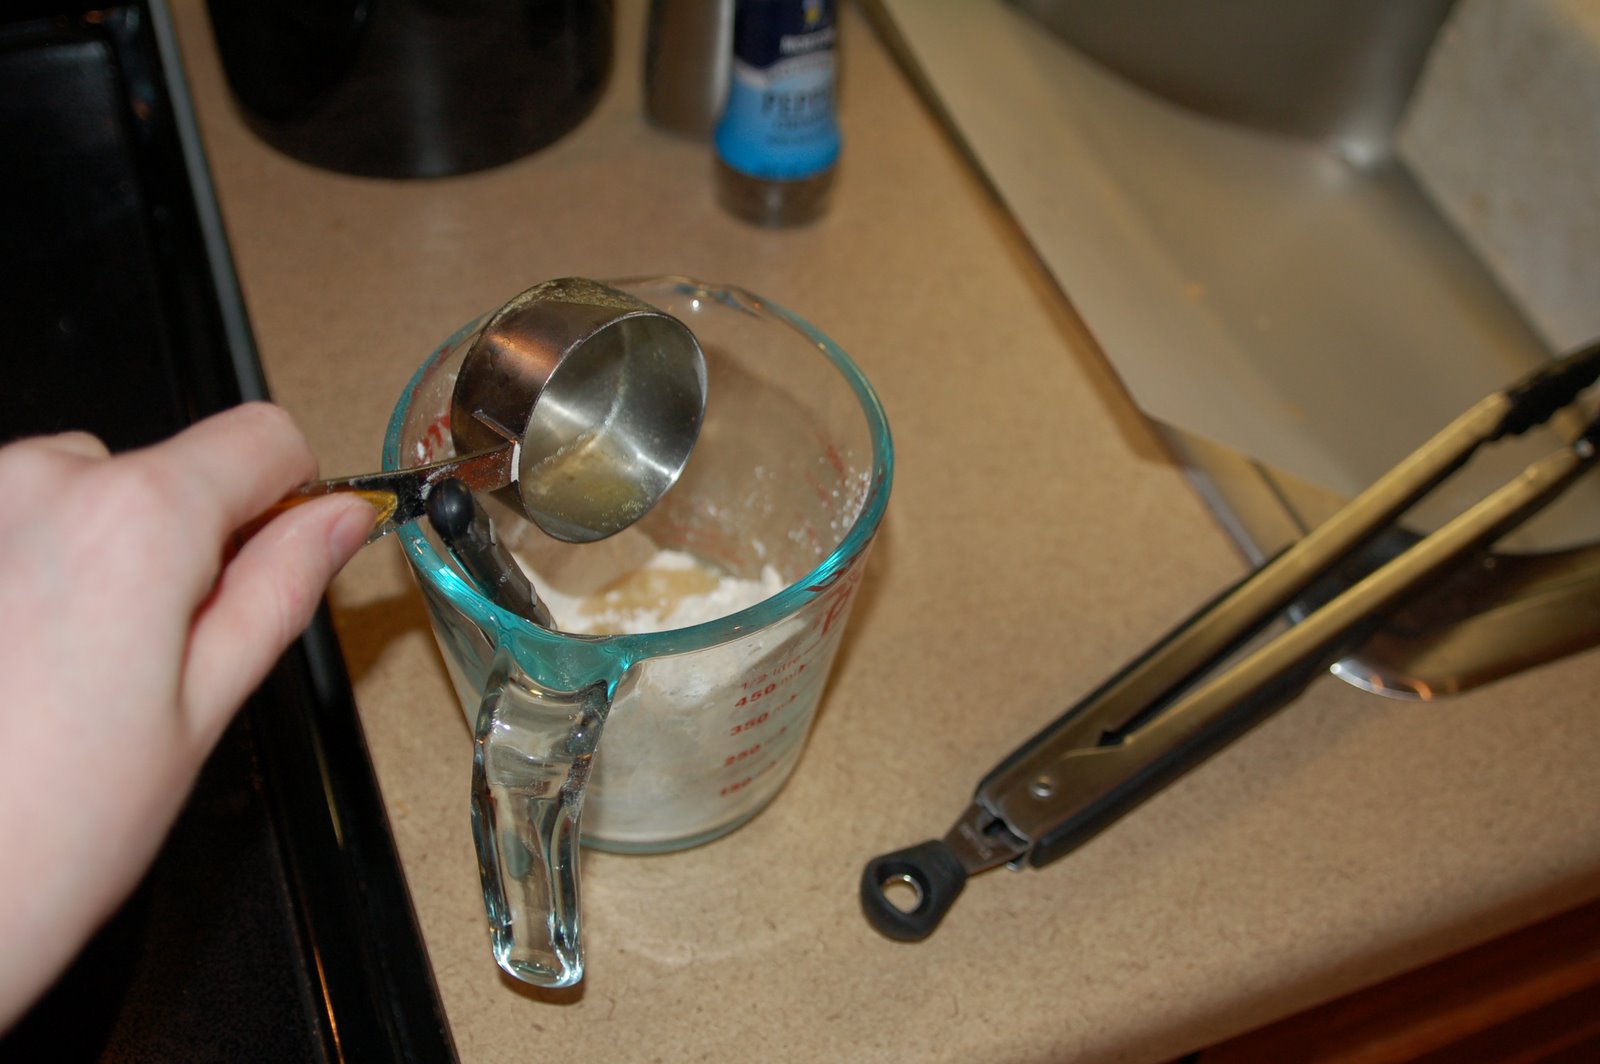
2. Measure the wet ingredients together in a liquid measuring cup and mix well.
3. Pile all of the flour mixture together and dig a small crater into the middle.
4. Pour a small amount of the egg mixture into the crater and begin to mix with your hands.  Keep adding the egg mixture bit by bit until you have a solid dough.  Your dough should be soft, but not sticky.  Add more flour if the dough is too sticky, or more oil if the dough is too dry until you get the proper consistency.
5. Wrap the dough in saran wrap and store in the fridge for two hours or more.


This is too much egg mixture at one time.  You should add only a few tablespoons worth at a time.


Part the Second: Filling


Something to know: Cornstarch is a tricky sustenance.  It is used in many sauces as a thickening agent, which works great, but it almost works too well.  It turns whatever liquid it's put into nearly solid on contact.  Because of this, you will need to mix the cornstarch with some of the liquid BEFORE adding it to the general skillet.
You'll need:
1/2 lb. chicken breasts, cut into small cubes
1 small onion, chopped
2 carrots (about one cup), peeled and sliced
½ tsp salt
¼ tsp black pepper
1½ cup chicken stock or bullion, stock equivalent
1 cup water
¼ cup whole wheat flour
2 tbsp cornstarch
1 cup frozen broccoli


1. Cook chicken, seasoned with salt and pepper, in a large skillet on high heat.
2. Add onions and carrots, cook until the onions become translucent.
3. Add water and stock, and bring to a boil.  About 5 minutes.
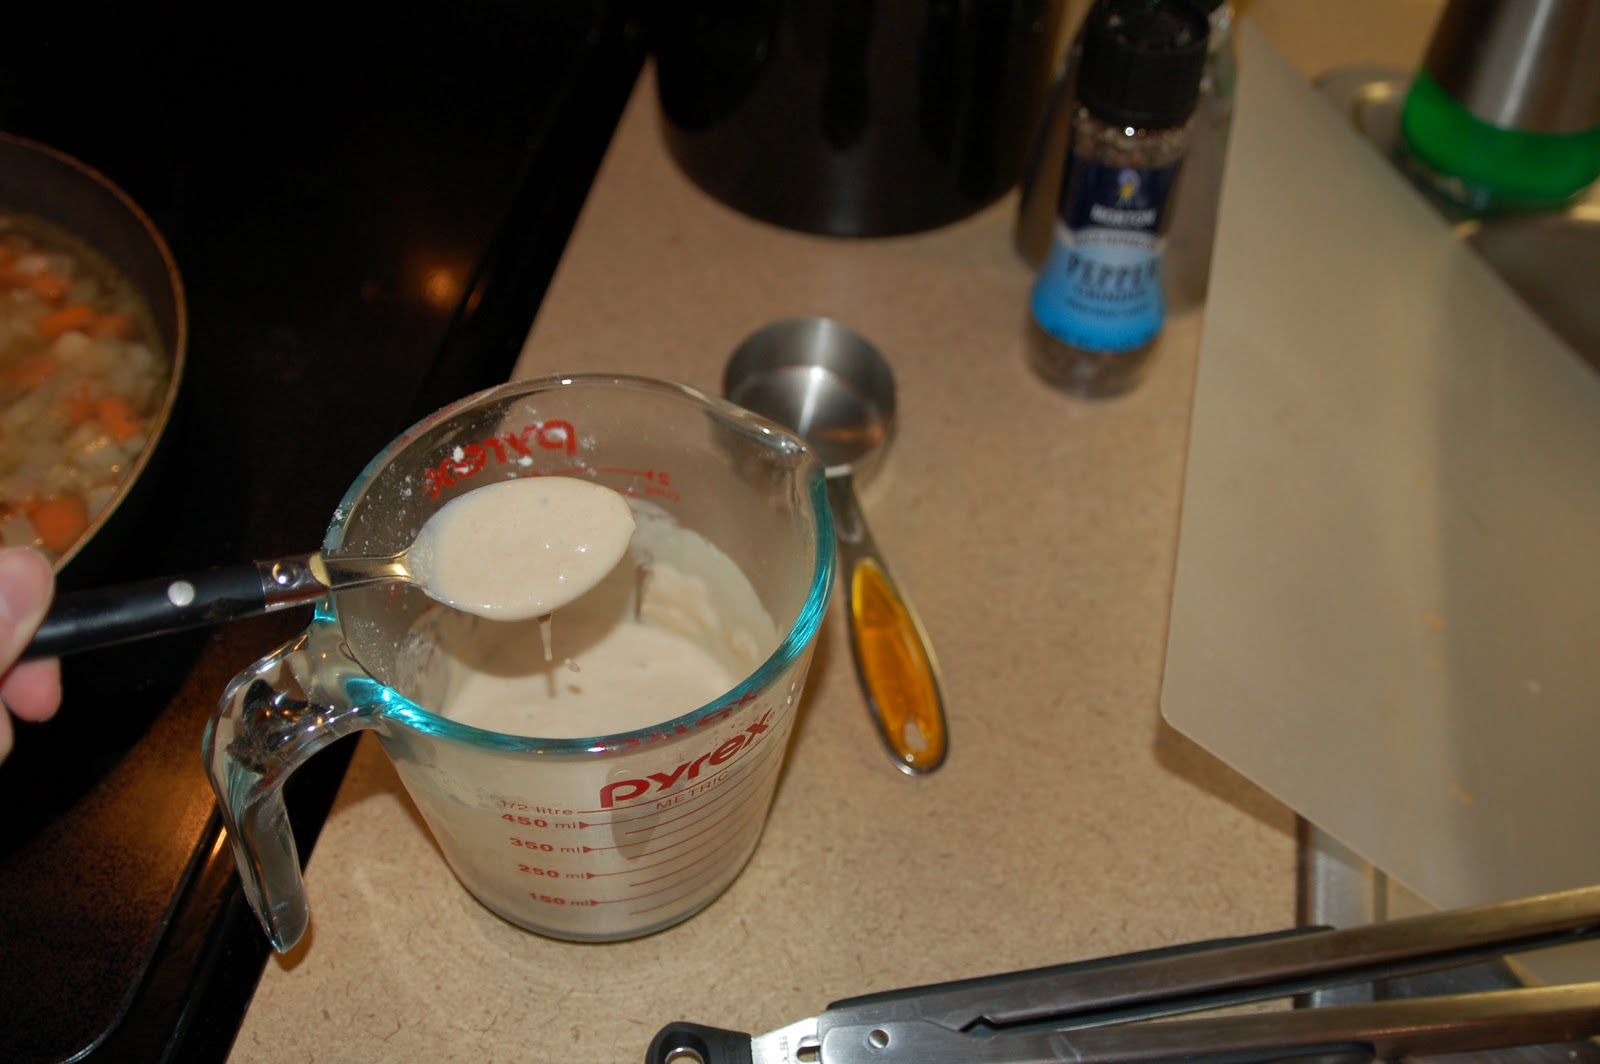
4. Lower the heat, and mix flour and cornstarch in a liquid measure.  Spoon broth from the skillet into the cornstarch mixture until the mixture is smooth.
5. Pour the cornstarch mixture back into the skillet and stir until combined.
6. Add the frozen broccoli.


Part the Third: Assembly

You'll need:
Dough
Filling
rolling pin
6 small, oven safe containers (I used ramekins and teacups.  Anything ceramic is generally safe to put in the oven.)

Preheat oven to 350 degrees
1. Roll out the dough flat using plenty of flour to make sure nothing sticks.
2. Cut out crust pieces by turning you mugs/teacups upside down and tracing a quarter inch around them with a sharp knife.  Don't throw away the extras!
3. Fill the cups with the filling.
4. Cover the tops with the dough pieces and press them down around the edges to seal them.
5. Poke holes in the dough with either a chop stick or a fork.
6. Put the cups in a pan or on a cookie sheet (this way if there are any drips you don't have to clean the entire oven.)
7. Bake for 20 Minutes.

What to do with those crusts:
Lay them out on a cookie sheet and bake them up as well for about 5 minutes.  If you're feeling fancy, add herbs or cheese to the top.  If you're feeling sweet you can add cinnamon sugar to the tops.  Anyway you slice it they'll make delicious biscuits for dipping in soups (if you went savory) or eating by themselves.


Recipe: Egg in a Hole

Egg in a Hole is super easy to make and can be made for any meal.  I've eaten these for breakfast on it's own, for lunch with salad or fruit, or made up two for dinner.

You'll need:
Eggs
bread
butter
cheese (optional)
cooking spray
knife
spatula
a small frying pan


Steps:
1. Spread butter on both sides of the bread.
2. Cut a hole in the middle of the bread.  This can be done with a knife, a small cookie cutter, or the rim of a shotglass.
3. Spray the pan with cooking spray, turn on the heat.
4. Put the bread in the pan, and crack an egg into the hole.  Let cook for about three minutes, until the butter on top is melted.
5. Flip over and add cheese.
6. Let cook about another 2 minutes or until the cheese is melted.

This leaves you with a runny yolk which is how I like it.  If you want a hard yolk let it cook a minute or so more.

Monday, January 9, 2012

Recipe: Easy Lasagna

I want to start off with the warning that I am not the best photographer.  I tend to forget that I'm supposed to be taking pictures of things.  Hence, there is no picture of the final product.  Use your imagination.  I'm sure you've seen lasagna before.

Lasagna is a great dish to make when you're having people over, or it can be made for yourself and then the leftovers can be saved.  This recipe is to be made in a small square pan, whereas most recipes for lasagna are for larger 13x9 pans.  I like to make smaller amounts because it goes bad if I'm the only one eating it, but if you want to make more, just use a larger pan and add another layer.

That being said, we'll start off with a list of ingredients.

You'll need:
Ingredients:
-20 oz. jar Tomato Sauce
-16 oz. Ricotta Cheese
-1 pound Ground Beef (meat version) OR 3 small Eggplants (Veggie version)
-1 Package NO BROIL lasagna noodles

Tools:
-9x9 square pan
-1 quart sauce pot
- wooden spoon

The key to this whole thing is the no broil lasagna noodles.  You can find them in the grocery store next to all the other kinds of noodles.

Steps:
*Preheat the oven to 350 degrees.
1.  Cook the meat or cut the eggplant.  Cook the meat in a pot, stirring occasionally, breaking up the chucks with the spoon until meat is brown.
2. Begin with the first layer of sauce in the pan.


3. Place a layer of the lasagna noodles on top of the sauce.
4. Layer meat of eggplant on top of the noodles.
5. Layer Ricotta cheese over meat or eggplant.


6. Repeat steps 2 through 5 until the pan is full.  There should be two or three layers depending on how deep your pan is.
7. Bake the lasagna for 20 to 25 minutes.
8.  Cut, serve, and eat.

This recipe can make 4 to 8 servings depending on how you cut it.  I normally go with 6.

Wednesday, January 4, 2012

Kitchen Basics

The first thing to establish in cooking your own food, are the utensils needed.  Weather you're living in a dorm and using a shared kitchen, or just starting out in your own apartment, there are a few thing you'll need beyond the basic sink, oven, and refrigerator.  This list should get you started.

Mixing bowls [You probably want at least three sizes, small, medium, and large.  May sets come graduated for easy storage, which makes your life easier.  As far as material, I suggest plastic.  They'll be microwave safe unlike metal bowls, and will be able to withstand a few droppings unlike glass ones.  Bonus: They're usually cheaper.]

Knives [Technically the only knife you NEED is a chef's knife.  About 7 inches, wide at the hilt, narrowing to a point.  If you have two knives the second one should be a small paring knife.  If you have three, the third should be a bread knife with serrated edges (These are also great for slicing tomatoes).]

Pots and Pans [You'll want a frying pan to cook things like bacon, a medium sized pot to cook things like pasta, and a large stock pot for soups.  The more money you put up the better off you'll be as the cheep stuff is cheep for a reason.  As you expand your kitchen you may want more, but three will be a good start.]

Baking dishes [Again, you'll want three kinds to start.  A baking sheet for cookies (I suggest one with sides for times when things leak), what I'll call a lasagna pan (about 9x13 inches), and a square brownie pan (9x9 or 8x8).  If you're going to double up on something I'd suggest the baking sheets.]

Measuring Cups and Spoons [Stacking cups for dry ingredients, and a pourable measuring cup for liquids.  The liquid one isn't really necessary, but will make your life much easier.]

Colander or Strainer [A plastic or metal colander will serve you well.  Growing up we would always use a  metal strainer, but some people find those hard to handle.  Whatever works for you I always say.]

Spatulas [Plastic or metal for taking cookies off the tray or flipping burgers, rubber for mixing things.]

Others: Can Opener, Cutting Board, Grater, Oven Mitts, Peeler.

Not required, but also good: Toaster (for obvious reasons), Blender (because milkshakes are amazing, and they come in handy some times).

Tuesday, January 3, 2012

Welcome

This space will be used as an attempt to show other college students that it is possible to feed themselves by going to the grocery store and making their own food.  Food is my favorite pastime, everything from planning, to cooking, to eating it.  The cleaning up part doesn't come as easily.  Usually dishes just get left in the kitchen sink.